Modal dialog form view using JQuery:
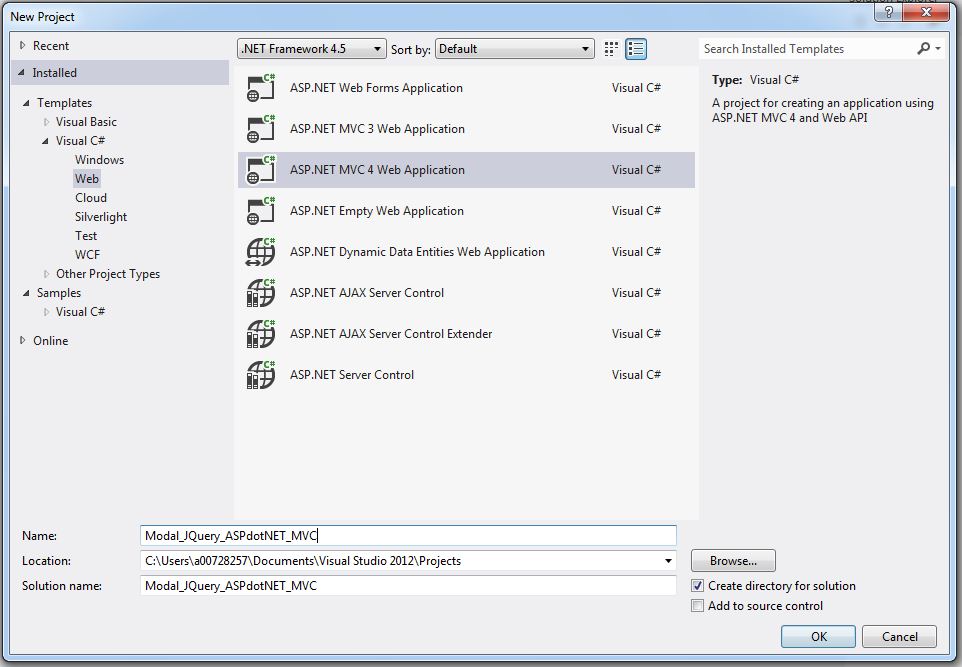
Create a project in VWD.
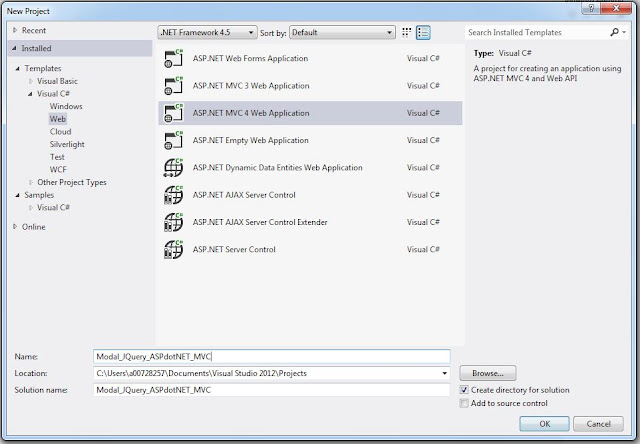
for convinence sake we will call it Modal_JQuery_ASPdotNet_MVC. You can name your project to you liking.
Now click Ok button. Select Internet Project and click Ok. The view engine I use is Razor, so I have selected Razor as my view engine.

Now the basic set up is done. We will have the following items created in Solution explorer for us to use.


Create a project in VWD.
for convinence sake we will call it Modal_JQuery_ASPdotNet_MVC. You can name your project to you liking.
Now click Ok button. Select Internet Project and click Ok. The view engine I use is Razor, so I have selected Razor as my view engine.

Now the basic set up is done. We will have the following items created in Solution explorer for us to use.

Now as you can see you already have Home controller and Views for Home created. Since the modal doesn't have to do much with controller and view (apart from handling the logic and showing the view) we will work on Home controller and Home View to show our Modal dialog.
The idea of this sample is to show a partial view as modal dialog. So we also need to create a partial view which will be displayed as modal dialog. Right click on ~/views/shared/ folder and add a partial view. As given below:


Now write the code for what you want displayed in the modal dialog. Say we are working on making a Contact Us form. So let's add code for the same.
<label for="Name">Name:</label ><br />

<input id="Namecontact" name="Name" type="text" /><br />

<label for="email">Email:</label><br />

<input id="emailcontact" name="email" type="text" /><br />

<label for="message">Message:</label><br />

<textarea id="messagecontact" name="message"></textarea>

<input class="close" name="submit" type="submit" value="Submit" />
code for the modal is complete with this partial implementation. Now all that remains is writing JQuery involved in respresenting this partial as modal dialog.
Now to start with the JQuery code. Open Index view in ~/Views/Home/. This view is already created by VWD when we created the project. Now for simplicity sake please delete all the below selected code in Index.cshtml.

Now start with the Jquery first include JQuery library, JQuery UI and JQuery Unobtrusive ajax extensions to your code. You can do that by adding the following code:
<script src="@Url.Content("~/Scripts/jquery-1.4.4.js")" type="text/javascript">
</script>
<script src="@Url.Content("~/Scripts/jquery-ui-1.8.11.js")" type="text/javascript">
</script>
<script src="@Url.Content("~/Scripts/jquery.validate.js")" type="text/javascript">
</script>
<script src="@Url.Content("~/Scripts/jquery.validate.unobtrusive.js")" type="text/javascript">
</script>
<script src="@Url.Content("~/Scripts/jquery.unobtrusive-ajax.js")" type="text/javascript">
</script>
Now moving forward we will create a action link on click of which will open the modal dialog.
@Html.ActionLink("Contact US","ContactUs","Home",null,
new {@class="openDialog",data_dialog_id="emailDialog",data_dialog_title="contactus"})
Let's break that down for you. @Html.Action generates anchor tag in HTML for us. It has many overload out of which the one we are using has the following component
@Html.ActionLink("Text of the link","Action to be called", "Controller in which action is present", "route values", "Html attributes to be assigned to anchor tag")
So here we have said create a anchor tag with text Contact US which will call the action name ContactUs in controller Home. It doesn't have any route values that is to say we are not passing any parameter to the action and its Html attributes are as follows:
it's class name is openDialog
it's data_dialog_id attribute is emailDialog
it's data_dialog_title attribute is contactus
so now below given HTML will be generated when you do view source:
<a class="openDialog" data-dialog-id="emailDialog" data-dialog-title="contactus" href="/Home/ContactUs">Contact US</a>
Note: data_dialog_id in @Html.ActionLink is converted to data-dialog-id when anchor tag is created. This happens automatically.
Also add a div to display the result thrown from the dailog to be displayed:
<div id="result"></div>
Now write JQuery to create the modal. (please remove comment in case this doesn't work, the comments are added for understanding and don't play any role in code.)
<script type="text/javascript">
    //Below code will clear cache
    $.ajaxSetup({ cache: false });
    //Below code will run the JQuery when document is ready.
    $(document).ready(function () {
    //Below code will append a click event to the class openDialog
    //which we assigned to the anchor previously
        $(".openDialog").live("click", function (e) {
            //Below code will prevent default action from occuring
            //when openDialog anchor is clicked
            e.preventDefault();
            //This is the actual implementation of the dailog
            $("<div></div>")
            //To the div created for dialog we will add class named dialog
            //this is done so that we can refer to the dialog later
            //we will see this in a short while why it is important
            .addClass("dialog")
            //add attribute add id attribute
            //note id attribute is assigned the same value as data-dialog-id
            //attribute in openDialog anchor
            .attr("id",$(this).attr("data-dialog-id"))
            //below code appends this div to body
            .appendTo("body")
            //below code describes the attribute for the dialog
            .dialog({
                //below code assigns title to the dialog
                //here we use same title as data-dialog-title attribute
                //in openDialog anchor tag
                title: $(this).attr("data-dialog-title"),
                //this will append code to close the dialog
                //and also put close cross(x) in dialog
                //we press ESC key in keyboard will also close dialog
                close: function () { $(this).remove() },
                //below code defines that the dialog is modal dialog
                modal:true
            })
            //below code says take href from openDialog anchor
            //which is /Home/ContactUs and load it to the modal dialog
            .load(this.href);
        });
    });
</script>
Now a small controller code needs to be written to open the modal dialog.
In Home controller write the following code:
public ActionResult ContactUs()
{
   return PartialView("ContactUs");
}
Now, since we are refering the JQuery library in our Index file we need to clear JQuery reference from our _Layout.cshtml file. so in _Layout.cshtml find the line which says @Scripts.Render
("~/bundles/jquery") and comment it. The way to comment using razor syntax is as follows:
@*@Scripts.Render("~/bundles/jquery")*@Now for final touch so that your modal looks good include JQuery UI CSS in the _Layout.cshtml.
<link rel="stylesheet" type="text/css" href="../../Content/jquery-ui.css" />And for simplicity sake I suggest you to remove the default style sheet's section which defines ui-dialog for ajax login because it conflicts with the JQuery UI CSS.
Note: Applies only to guys using VWD 2012.
Now our dialog can be opened and if we press ESC key the dialog will close.(screenshot below).

Note you can see that the partial ContactUs.cshtml which we created previously is reflected as dialog here. We can have any kind of form shown as dialog in this way.
Now what happens if I want to take the dialog's data after submit is clicked and process the data and also show it in the page as updated.
We will do that now.
Before we move on with the JQuery let's first create a ContactUs post method controller where we will do the logic processing. The controller will look like this.
HttpPost]
public ActionResult ContactUs(string name,string email,string message)
{    /*Your other processing logic will go here*/
   return Json(new
   {
       nameret=name,
       emailret=email,
       messageret=message
     },JsonRequestBehavior.AllowGet);
}
Let me explain that to you. This controller will take name, email and message from the modal dialog as input and will output a Json result with name, email and message. Here before returning the content you can also save it to database you if want or you can write any other processing logic like you might want to append Mr/Mrs before the name.
After the controller is done now let's write JQuery code that will call this controller. We need to append this code in the previous script we had defined inside the $(document).ready() function.
//if you see that code in the partial view our submit button
//is defined as .close class, so below code says on document ready
//append click event to this button
$(".close").live("click", function (e) {
            //prevent default action on the button click
            e.preventDefault();
            //get value of name textbox id=Namecontact
            //put in variable name
            var name = $("#Namecontact").val();
            //get value of email textbox id=emailcontact
            //put in variable email
            var email = $("#emailcontact").val();
            //get value of message textarea id=messagecontact
            //put it in variable message
            //note since messagecontact is a textarea
            //we need to use .text() rather than .val()
            var message = $("#messagecontact").text();
            //Start ajax call
            $.ajax({
            //define method for sending data to controller
                type: "POST",
                //define controller URL
                url: "/Home/ContactUs",
                //define data to send to controller
                //if you remember our controller accepts
                //3 parameters name, email and message
                data: { "name": name, "email": email, "message": message },
                //create a success function
                //this method is executed if controller
                //defined by the URL is found
                //and it accepts the data sent
                //control comes to this point if the controller
                //is executed. So data in function(data)
                //contains the Json data we sent
                //from the controller
                success: function (data) {
                    //Now in the div with id result defined in
                    //index page previously we will put in the
                    //data. As you can see Json data is very
                    //easy way of returning to ajax call because
                    //now you can simply say data(dot)variable sent
                   //and you will get the returned value.
                    $("#result").html("<ul><li>Name: " + data.nameret + "</li><li>Email: " + data.emailret+ "</li><li>Message: "+data.messageret+"</li></ul>");
                    //now close the modal dialog we opened
                    $(".dialog").dialog("close");
                },
                //control comes to this function if ajax doesn't
               //find the controller or controller doesn't accepts
               //the data sent or controller throws exception

                error: function (data) {
                    //If it happens alert user of the error
                    alert("There was error processing this");
                    //close the modal dialog
                    $(this).closest(".dialog").dialog("close");
                }
            });

        });
So this now completes our dialog. Please note that this JQuery needs to be inside $(document).ready() function.
PS: You can also add validations to this the modal form but I have not included it here. You can also send modal from dB to the Views and update those modal from result from the view. For this you will have to make changes to the controller actions defined.


